French Tip Nail Art for a Romantic Valentine's Day
Valentine's Day is the perfect occasion to show off a stunning manicure, and French tips offer endless possibilities for a romantic and stylish look. This year, we’re ditching the predictable and embracing fresh, modern designs that’ll make your nails the ultimate conversation starter. From classic elegance to playful pops of color, we've got the perfect Valentine's Day French tip nail art inspiration for you. Get ready to unleash your inner nail artist!
5 Stunning Valentine's Day French Tip Nail Designs
We're diving straight into five amazing designs, each with step-by-step instructions to help you recreate the look at home. Ready to transform your nails into wearable works of art? Let’s get started!
1. Classic French Tip with a Romantic Twist
This design takes the timeless elegance of the classic French manicure and adds a touch of Valentine's Day charm. Think soft, romantic colors and subtle embellishments that will make your nails look effortlessly chic. Are you ready for a manicure that’s both sophisticated and sweet?
Materials Needed: Base coat, nude or pastel base color (blush pink, creamy beige are perfect!), off-white or light pink for the tips, top coat, small heart-shaped nail decals (optional), small glitter accents (optional).
Step-by-Step:
- Prep your nails: Gently push back your cuticles and buff for a smooth surface. Cleanse with nail polish remover.
- Base coat application: Apply a thin layer of base coat for protection and longer-lasting polish.
- Base color: Apply two thin coats of your chosen base color, allowing each coat to dry completely.
- French tips: Use a thin brush or striping tape to create perfectly neat French tips. Allow to dry.
- Optional embellishments: Add small heart decals or glitter accents to one or two nails for a touch of Valentine's Day flair.
- Seal the deal: Finish with a top coat for extra shine and durability.
Pro Tip: For a more delicate look, consider using a sheer, milky white for the tips instead of a stark white.
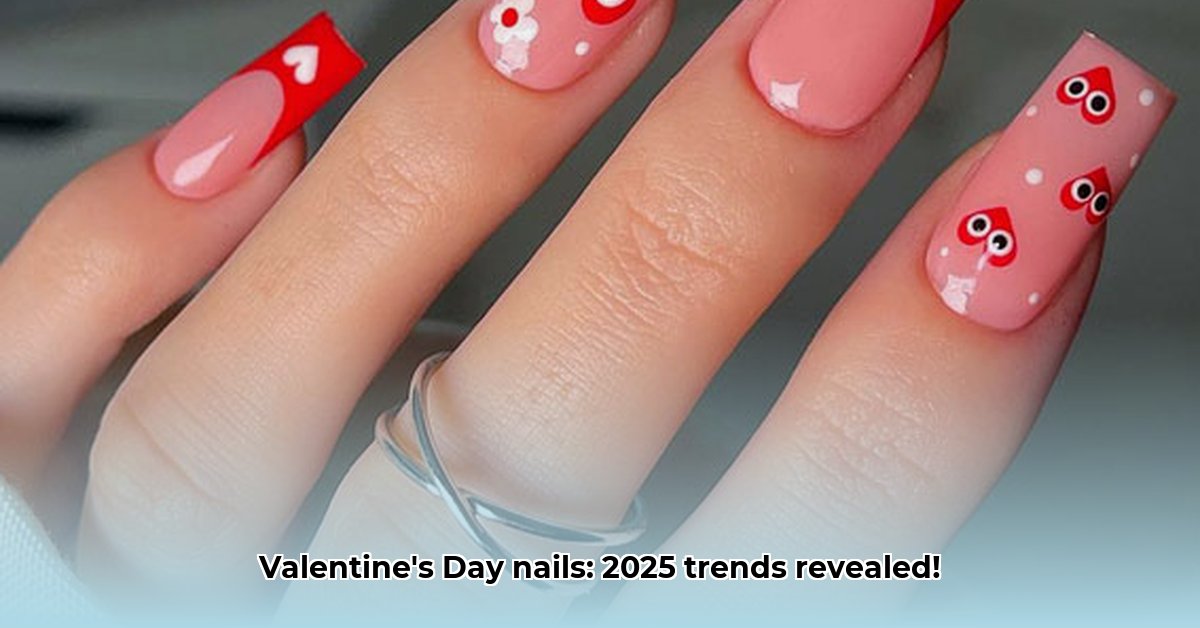
2. Hearts and Arrows: Sweet and Simple Design
Hearts are a Valentine’s Day must-have! This design features charmingly painted hearts or arrows for a touch of playful romance. It's simple, yet undeniably cute and perfect for those who prefer a more minimalistic approach. Do you prefer delicate details or bold statements on your nails?
Materials Needed: Base coat, chosen base color (light pink, nude, or even a pastel), red or pink nail polish for the hearts/arrows, fine nail art brush, top coat.
Step-by-Step:
- Prep your nails and apply a base coat.
- Two coats of base color. Let each coat dry thoroughly.
- Create your French tips. Let them dry completely.
- Use a fine brush to paint tiny hearts or arrows along the tips or near the cuticles.
- Apply a top coat to finish your sweet design.
Pro Tip: Use a stencil to help create perfectly shaped hearts if freehand painting isn't your forte.
3. Shimmer and Shine: Metallic French Tips
Elevate your Valentine's Day manicure with the glamorous sparkle of metallic accents. Rose gold, silver, or even copper will add instant sophistication and a touch of luxury to your nails. Do you prefer classic designs or modern trends?
Materials Needed: Base coat, chosen base color, metallic nail polish (rose gold, silver, or copper), fine brush or striping tape, top coat.
Step-by-Step:
- Prep your nails and apply a base coat.
- Apply two coats of your base color. Allow to dry.
- Use striping tape to create crisp French tips, or use a fine brush for more artistic control.
- Apply your metallic polish over the tips, ensuring even coverage.
- Remove the tape (if used) gently.
- Seal your metallic masterpiece with a top coat.
Pro Tip: For extra dimension, try a slightly textured metallic polish.
4. Bold Color Blocking: A Non-Traditional Valentine's Day Look
Step outside the box with a bold and unexpected color combination. This look features two contrasting colors that create a striking visual impact. It’s perfect for those who aren't afraid to make a statement. How do you express your individuality through your style?
Materials Needed: Base coat, vibrant base color (deep teal, vibrant purple, or a similar shade), contrasting tip color (white, pastel, or a complementary shade), top coat, striping tape (optional).
Step-by-Step:
- Prep your nails and apply a base coat.
- Apply two coats of your chosen base color. Allow to dry.
- If desired, use striping tape to create a clean line for the French tips.
- Apply the contrasting tip color, making sure it's neatly applied and evenly distributed.
- Remove the tape carefully.
- Finish with a top coat.
Pro Tip: For an advanced technique, try blending the two colors together for a soft, ombre effect.
5. Mix-and-Match Mani: A Personalized Touch
Finally, let's celebrate individuality with a mismatched mani! This design allows you to create a fun and unique look by incorporating different colors and techniques on each nail. It’s all about expressing your creativity and personal style. What does your unique style say about you?
Materials Needed: Base coat, a variety of nail polishes in colors and finishes you love, top coat, nail art tools (optional, for added details).
Step-by-Step:
- Prep your nails and apply a base coat.
- Let your imagination run wild! Apply different French tip designs (from any of the above styles) to each nail, creating a visually interesting mix of colors and patterns.
- Finish with a top coat to protect your masterpiece.
Pro Tip: Don't be afraid to experiment with different textures, like matte and glossy finishes, within your mix-and-match mani.
Remember, these are merely starting points—feel free to adapt and personalize them to create a Valentine's Day mani that perfectly reflects your style. Happy Valentine's Day, and happy painting!